Jeep YJ Project
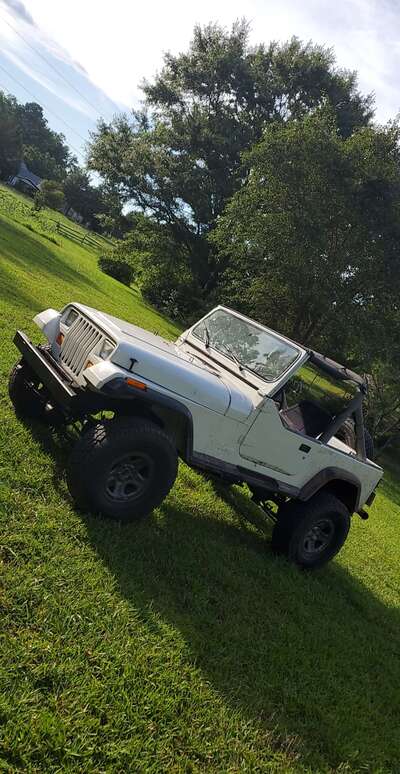 In early 2021, I spent my Trumpbux on a 1992 Jeep Wrangler.
Since then, I have learned a new word: suffering!
In all seriousness, however, it’s been a fun project, but given my current lack of free time and income, it’s been relatively stagnant since then. Nonetheless, I have learned a good bit from it, and I thought I’d chronicle the journey thus far in the hope that someone working on - or simply interested in - old Jeeps might benefit from it. Admittedly, I’ve gone into way more detail than anyone probably cares about, but if nothing else, this should also serve as a means of tracking my progress and reference material I can throw at anyone who asks about it.
In early 2021, I spent my Trumpbux on a 1992 Jeep Wrangler.
Since then, I have learned a new word: suffering!
In all seriousness, however, it’s been a fun project, but given my current lack of free time and income, it’s been relatively stagnant since then. Nonetheless, I have learned a good bit from it, and I thought I’d chronicle the journey thus far in the hope that someone working on - or simply interested in - old Jeeps might benefit from it. Admittedly, I’ve gone into way more detail than anyone probably cares about, but if nothing else, this should also serve as a means of tracking my progress and reference material I can throw at anyone who asks about it.
Overview
As previously stated, it’s a 1992. When I purchased it, though, it may as well have been an 86-90, as it had the old style “sport” rollbar and the carbureted 258ci straight 6. Below is a full list of specs as it was when I picked it up:
- Engine: AMC 258 I6
- Trans: TorqueFlite A999 3-speed automatic
- Transfer Case: NP231
- Axles: Dana 30 front and rear
- Tires: 35" Mastercraft Courser A/T Long story short, it was slow, leaked just about every fluid imaginable, misfired on 2 cylinders, and working on it was a nightmare. But it was my nightmare, and I’ve decided to make it absolutely irresponsible.
The Beginning Stages
The first thing I wanted to fix was the quart of oil it leaked about every 100mi. This was mainly due to the valve cover and oil pan gaskets. With that out of the way, I was able to spot the smaller, more discrete puddle that was showing up every morning due to the rear main seal. It was at this point that I weighed my options:
A. Drop the transmission, fix the seal
B. Leave it, keep adding oil
C. Nuclear option
As previously mentioned, the theme of this build is “irresponsible,” so I went for C. This began with “I’m already taking the tranny out, and I’d prefer to have a manual. Now is my chance.”
…Then I saw the exorbitant prices and scarcity of the AX15.
“Alright… I could find a clean, stock small block Chevy or Ford for cheap. That will give me more torque and open me up to a world of transmission options without having to bother with adapter bell housings!”
…Then I got a really good deal on a short block 383 stroker.
The New Engine
After talking it over with a friend who had helped me (and continues to help me) tremendously throughout the majority of this project, I decided to pull the trigger on the 383, and we immediately got to work on removing the 6 cylinder. The previous owner is fairly well-known in the area for building muscle cars for both street and strip. He told me he bought it new for a customer’s car, changed the cam and rotating assembly, and swapped it in for him. 1800mi later, the customer returned, his only complaint being “it’s not a big block.” So he bought a 454, swapped this guy’s engine yet again, and kept the 383. He needed heads for his personal car, a Nova with a 400 SBC, so he robbed them off the 383. The rest is now mine.
Here’s everything I know about it:
- It was built by Chevrolet Performance as a crate motor
- It has an Edelbrock 7102 flat tappet cam
- The pistons are dished with forged I-beam rods. I have yet to identify the make and model.
- The crank is definitely aftermarket. It’s made by Scat; that’s all I know.
With the short block in hand, the first order of business was getting heads, followed soon after by the rest of the top-end components.
- Heads: 195cc AFR Enforcers, a good balance of quality and low (by AFR standards) price.
- Rocker arms: Comp Ultra Gold 1.5s
- Intake manifold: Edelbrock RPM Air-Gap
- Carburetor: 650CFM Quick-Fuel 4150
- Headers: Advance Adapters YJ-SBC conversion (These and the Hedman model are the only long tubes designed for a YJ with a SBC)
- Distributor: The cheapest Chinesium HEI that the local hot rod parts house carries
With this new powerplant, I had to be a lot more selective with the transmission, so as to ensure it can hold up to the torque I’d be making. The infamously weak Dana 30s weren’t going to cut it either, which brings us to…
The New Drivetrain
Since I won’t be able to do much of anything aside from buying parts until I finish the engine (more on that later), I’ll keep this section brief.
- Trans: NV4500 5 speed manual
- Transfer Case: Dana 300 with the JB Custom Fab twin-stick kit (most of my axle options feature a passenger-side diff, whereas the N- P231 was driver-side)
- Axles: TBD, probably either Dana 60s or GM 14-bolts
Setbacks
So far, there have only been two major roadblocks (aside from the aforementioned time and money problem). Firstly, while setting the valves with the engine on the stand, it seized. I loosened all the rockers back up and checked in the spark plug holes with a borescope to see if any valves were stuck open. They all appeared to be closed, so I checked under the timing cover. No obstructions there, either. Having walked away with no answers and no more time, I put some Marvel Mystery Oil in the cylinders, covered the motor, and let it sit for a few days weeks months. Just the other day, I finally had time to work on it again. The MMO did nothing, unfortunately, so it was time to take the oil pan off. I broke the torque on one rod cap at a time, and tried to turn the crank after each one. Nothing. Then the main caps. After the 4th main cap was loosened, it spun free. Since I can’t be sure if this is the only bearing that’s giving me trouble, I’ve got a complete bearing set from Summit on the way now.
The second setback: wiring.
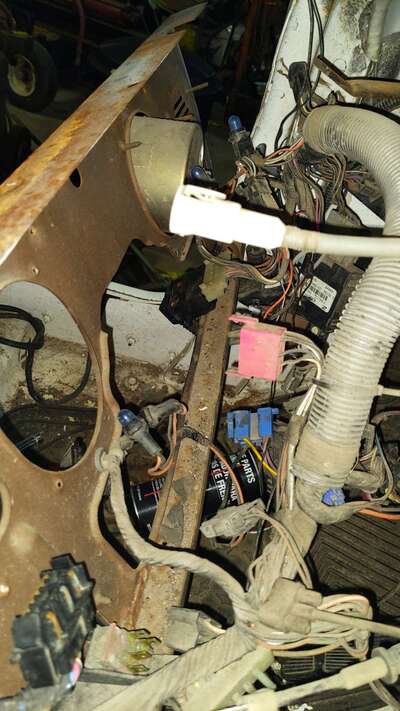
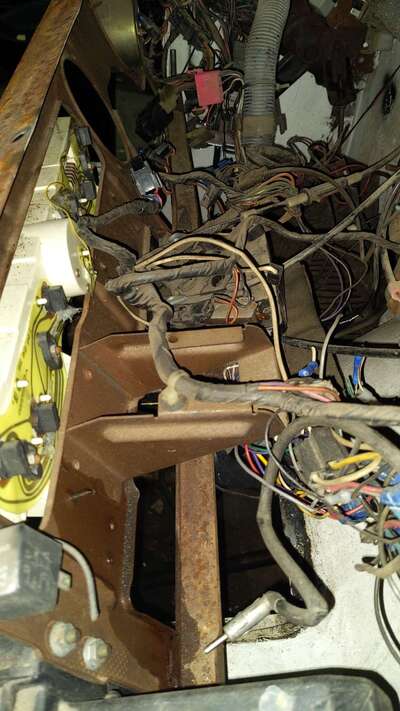
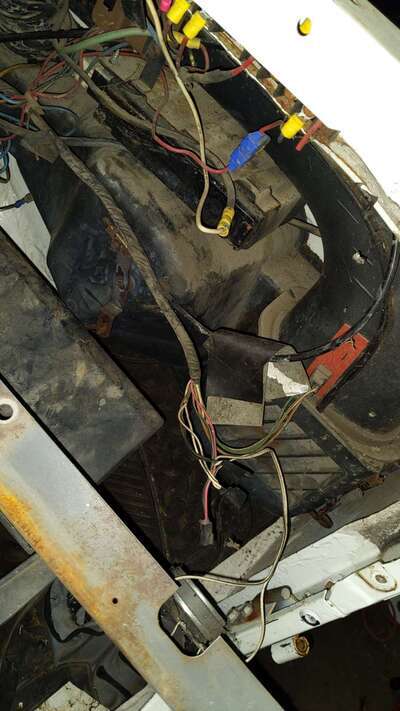
I have a Painless harness ready to install. By the end of it, no original wire will remain. That’s all I’m going to say about that.
Conclusion
If you actually read all that, I feel sorry for you. Either way, I look forward to what the future holds. Once I’m done with school, I’ll probably take 2 weeks off before finding a job to finish this up and get it off my back. Until then, I hope to at least get the engine test-fit and the motor mounts welded on. Again, I can’t take credit for too much here; it was a team effort for the first year or so. Chase, if you’re reading this, I couldn’t have done it without you, even if I did contemplate killing you a few times.